Import Separation
Last Updated: October 22, 2025 Document Version: 1.0 Prepared for: Emgage HRMS Implementation Team
System Overview
The Import Separation module allows administrators to bulk upload employee separation requests using an Excel template.
It ensures that all separation data is accurate, validated, and processed efficiently, reducing manual entry and ensuring compliance with organizational policies.
Navigation Path
Path:
Separation → Import Separation
You can navigate to this page from the Separation module or by using the search bar (Ctrl + K) and typing Import Separation.
Step 1: Download Template
- Click the Download Sample File button.
- A pre-formatted Excel template will download with the following mandatory columns:
- Employee ID
- Separation Type
- Relieving Date
- Requested Relieving Date
- Reason
Note: All columns are mandatory. Leaving any field blank will prevent the import from completing successfully.

Step 2: Fill Template
- Open the downloaded Excel template.
- Fill in employee separation details for each record.
- Ensure all mandatory fields are populated accurately.
- Save the file once completed.
Validation Tips:
- Employee ID must match the system records.
- Separation Type should follow the pre-defined values (Resignation, Termination, Retirement, End of Contract).
- Date fields should use the system’s standard format.
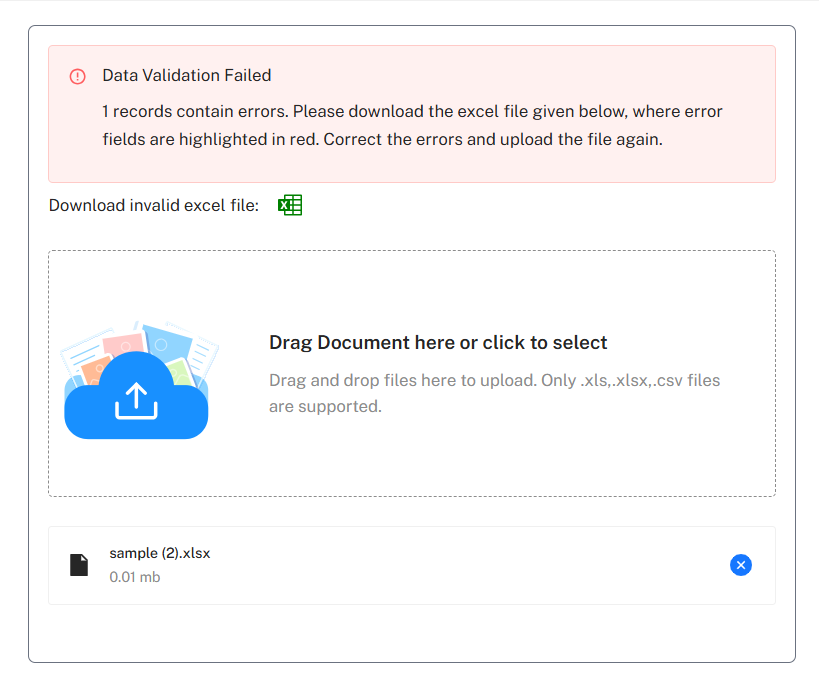
Step 3: Upload File
- On the Import Separation page, either:
- Drag and drop the Excel file into the upload area, or
- Click Select File to browse and choose the file.
- Once the file is selected, click Next Step to proceed.
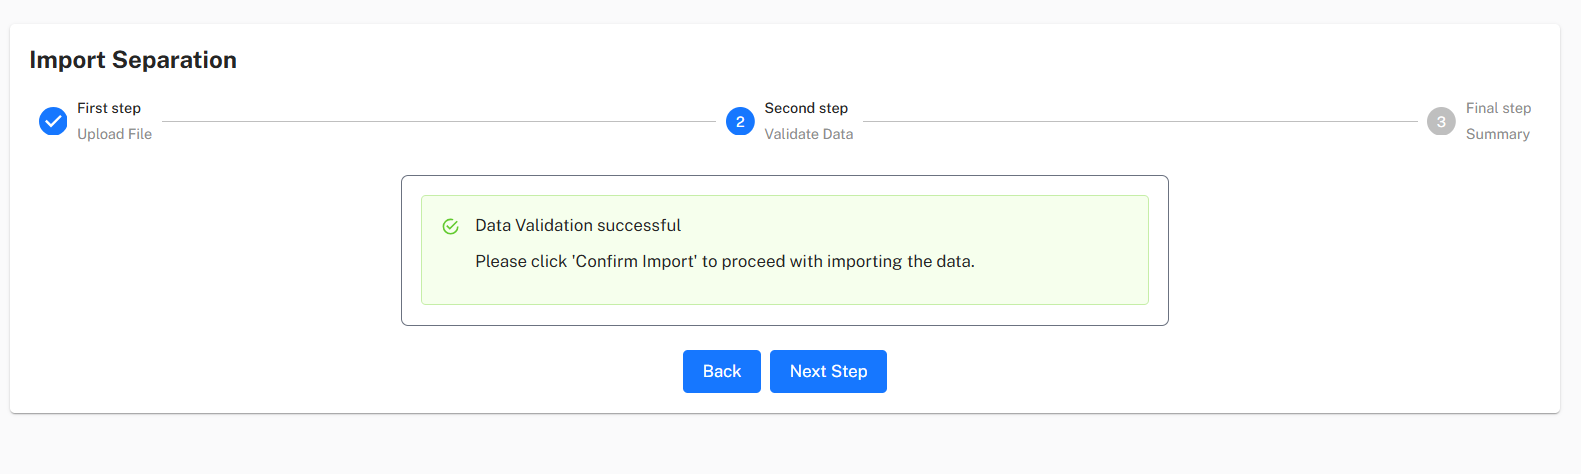
Step 4: Validate Data
- The system validates all records for completeness and correctness.
- Any missing mandatory field or invalid data is highlighted.
- Correct errors in the Excel file and re-upload if necessary.
- Once validation passes, click Next Step to continue.
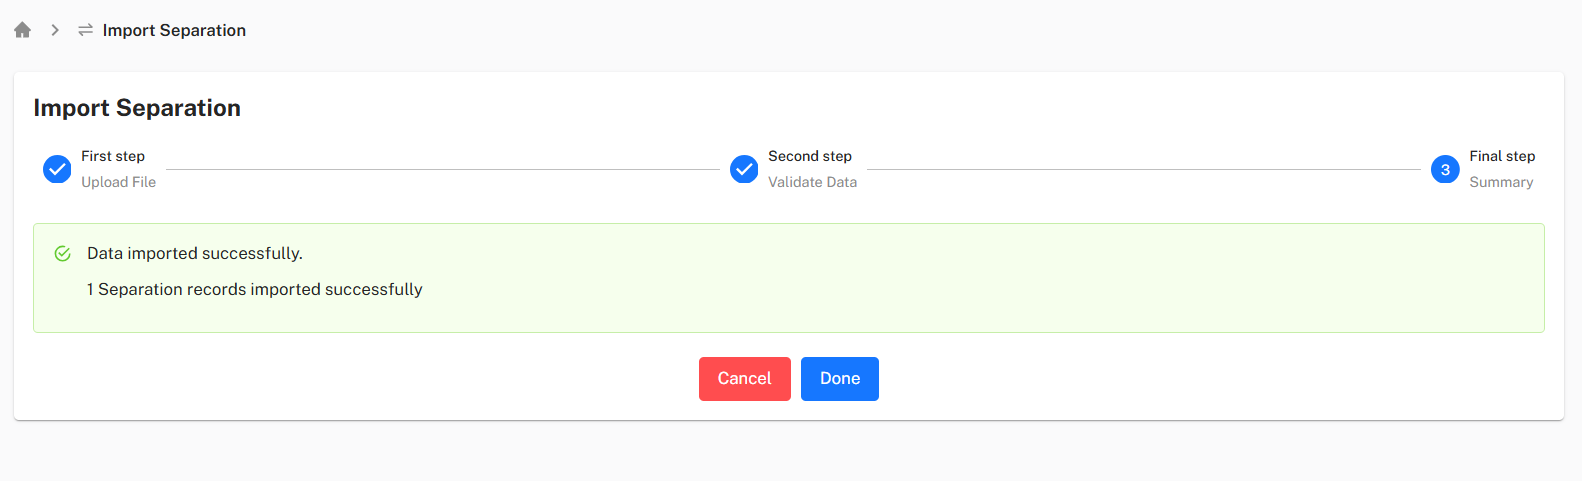
Step 5: Finalize Import
- After successful validation, the system processes the uploaded data.
- A summary may appear showing the number of records processed and any warnings (if applicable).
- Click Done to complete the import.
- Success message: “Data imported successfully.”
Best Practices
- Ensure all mandatory columns are filled before uploading.
- Double-check employee IDs and dates for accuracy.
- Correct all validation errors before final submission.
- Maintain a copy of the uploaded Excel file for audit purposes.
Example Workflow Summary
- Navigate to Import Separation.
- Download the sample Excel template.
- Fill in mandatory fields for each employee record.
- Upload the completed file.
- Validate all records and correct errors if any.
- Finalize the import process.
- Confirm success message and review imported data in Separation List/Approval.