Ticket Management
Last Updated: October 22, 2025 Document Version: 1.0 Prepared for: Emgage HRMS Implementation Team
This section covers the process of managing an individual support ticket after it has been created. From the main "Manage Ticket" list, clicking any ticket ID opens a detailed view for conversation, updates, and history tracking.
Key Features
- Threaded Conversation: A chat-like interface to add comments and updates to a ticket.
- Property Updates: On-the-fly editing of a ticket's assignee, category, status, and priority.
- Audit History Log: A complete, read-only log of all changes and comments for accountability.
- File Attachments: Ability to add new files or screenshots to comments.
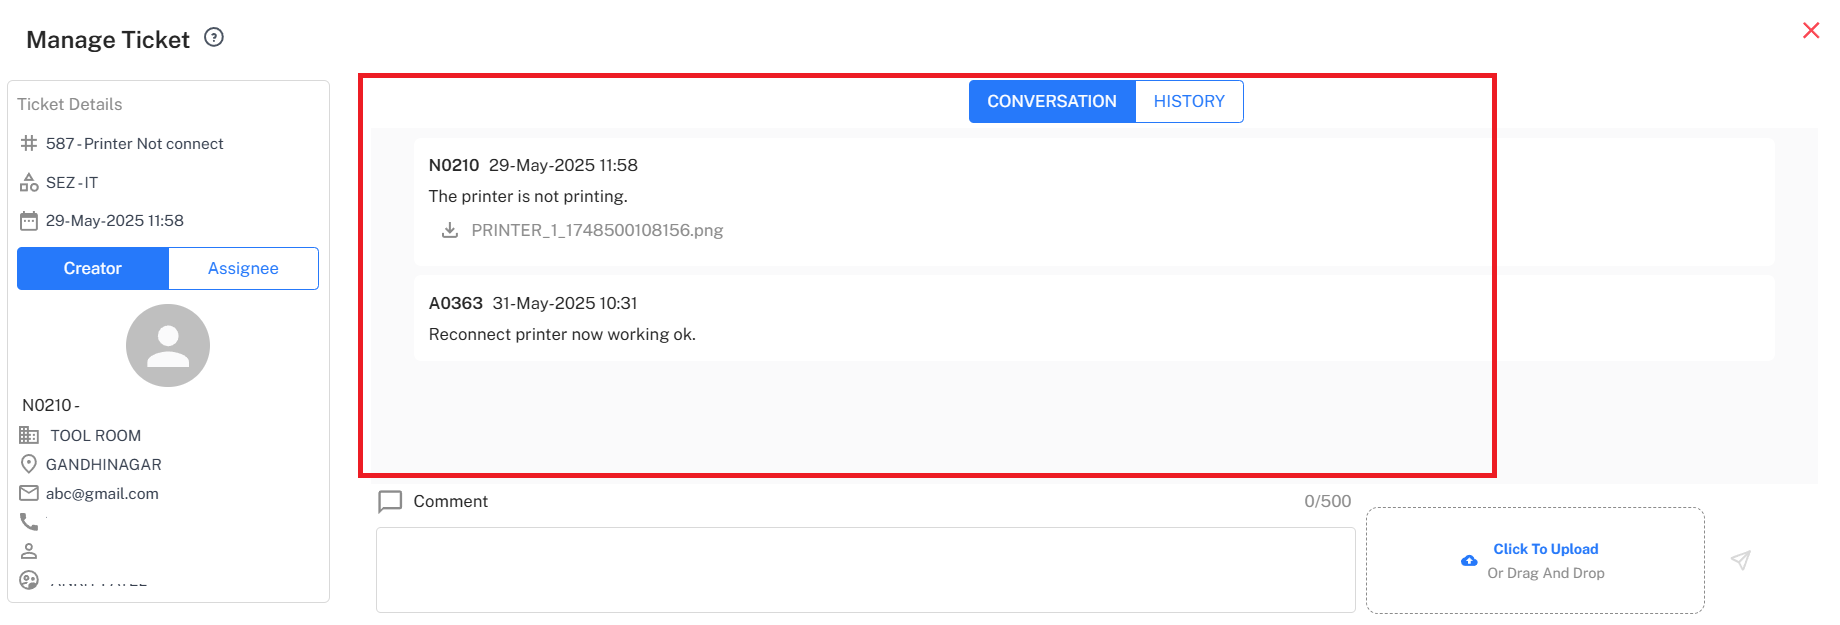
Ticket Conversation View
The main view for a ticket opens on the "Conversation" tab. This interface allows for clear communication between the ticket creator and the support assignee.
- Add Comment: Users can type a message in the "Comment" box and click the submit button. The new comment instantly appears in the thread.
- File Upload: A "Click To Upload" option allows users to attach relevant files or screenshots to their comments.
- Timestamped Log: Every comment is logged with the user's name and a timestamp, showing a clear history of communication.
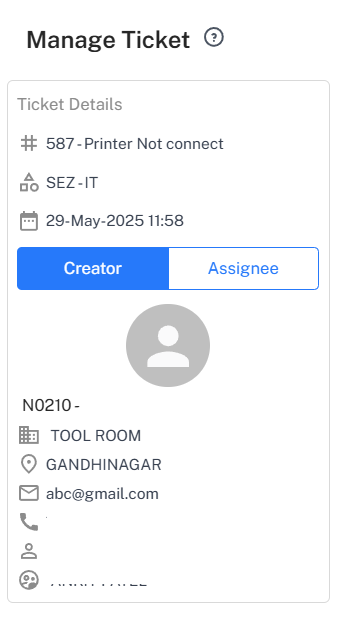
Updating Ticket Properties
A dedicated panel on the left side of the screen allows users with the correct permissions to modify the ticket's core properties at any time.
- Ticket Assignee: Re-assign the ticket to a different user or support team.
- Ticket Category: Move the ticket to a more appropriate category.
- Status & Priority: Update the ticket's status (e.g., from "New" to "In progress") or change its priority (e.g., from "High" to "Medium").
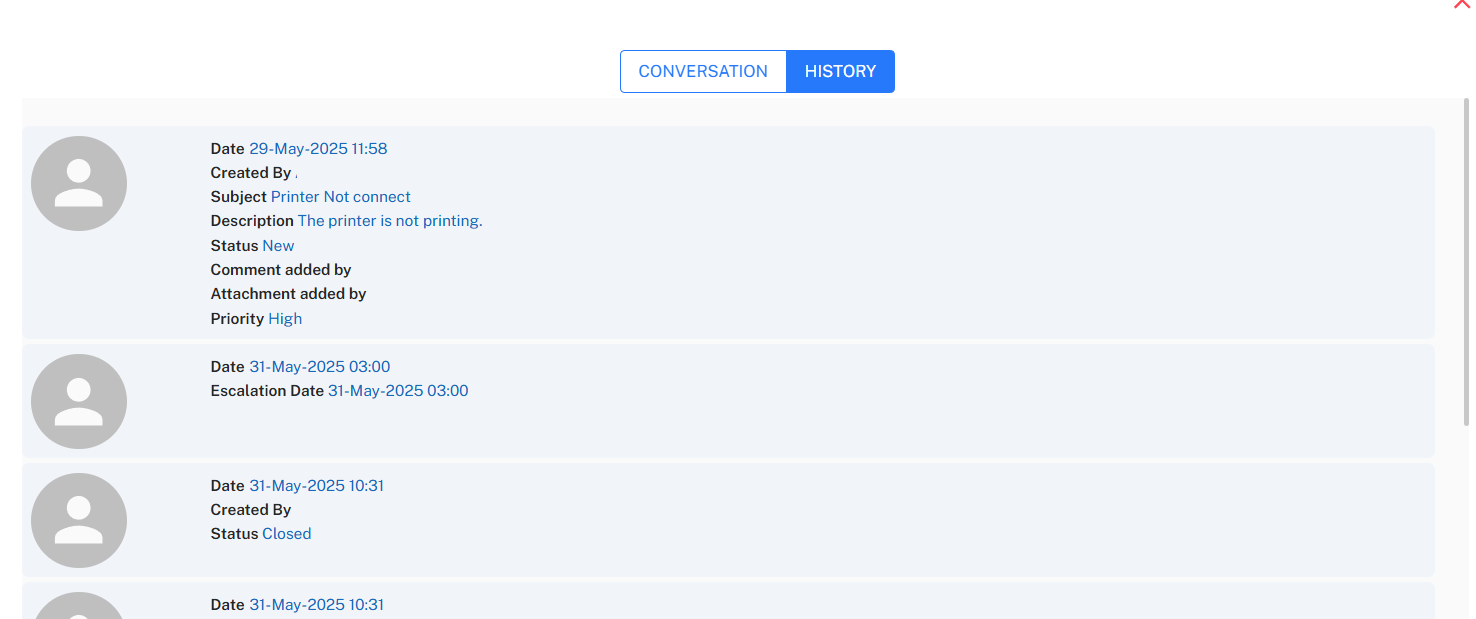
Ticket History Log
By clicking the "History" tab, users can view a complete audit trail of the ticket's lifecycle. This log is read-only and provides a transparent record of all actions.
- Creation Record: Shows the ticket's original details, including creator, subject, and assignee, and when it was created.
- All Updates: Logs every comment added and every change made to the ticket's properties (like status, assignee, or priority).
Step-by-Step Workflow: Managing a Ticket
- Open Ticket: From the main "Manage Ticket" list, click the ID of the ticket you want to update.
- Add Comment: In the "Conversation" tab, type a reply or update and click the submit button.
- (Optional) Update Properties: On the left panel, change the "Ticket Assignee", "Status", or "Priority" as needed.
- (Optional) Review History: Click the "History" tab to see a full log of all changes.
- Return to List: Click the "Manage Ticket" breadcrumb to go back to the main list.